Have you ever seen a nice, vintage, Transformer on eBay and thought “most of that aging looks cosmetic?” Well, here is a technique I use to clean a Transformer, remove the stickers (“labels” if you choose), and reapply new stickers to have a fresh and clean-looking collector’s item.
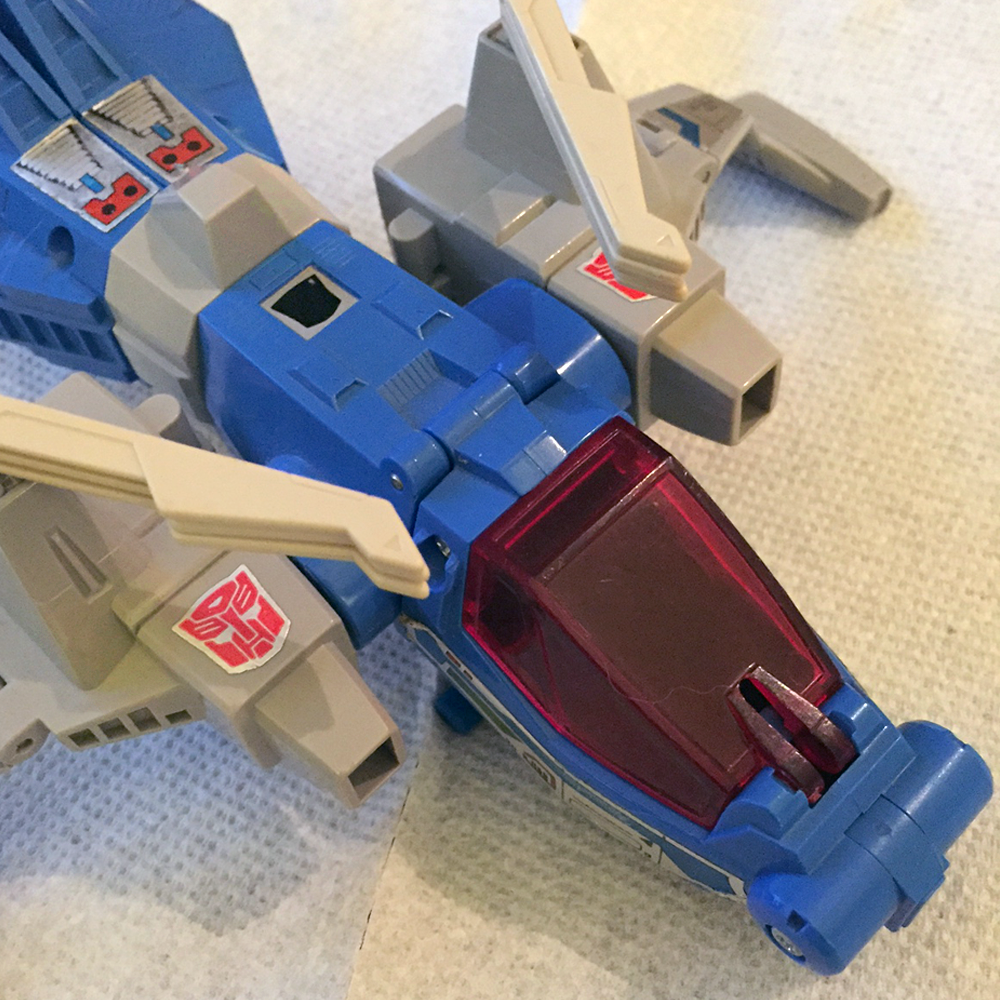
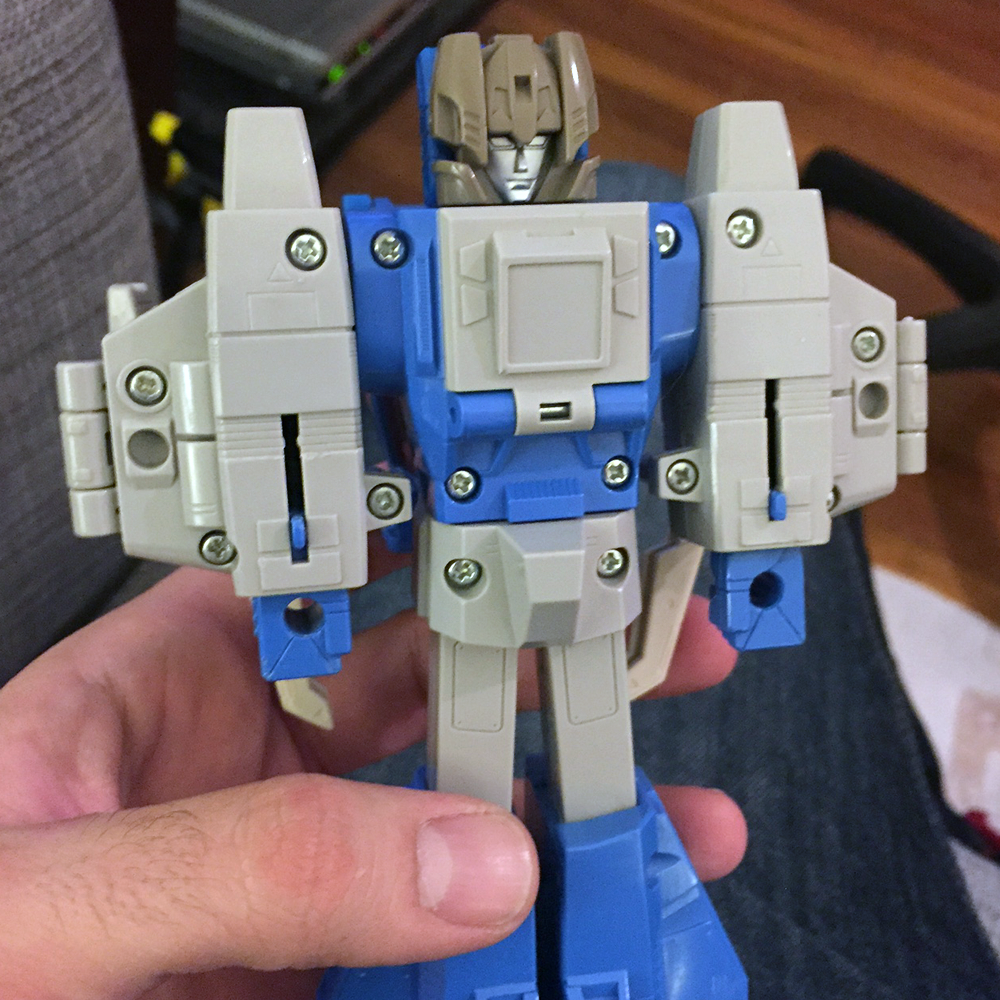
I got this decent looking G1 Headmaster Highbrow body from eBay, the stickers are worn, there is dirt in the crevices, but luckily all of the important (read “easily broken”) parts are intact (in this case, the six rotor blades and the canopy).
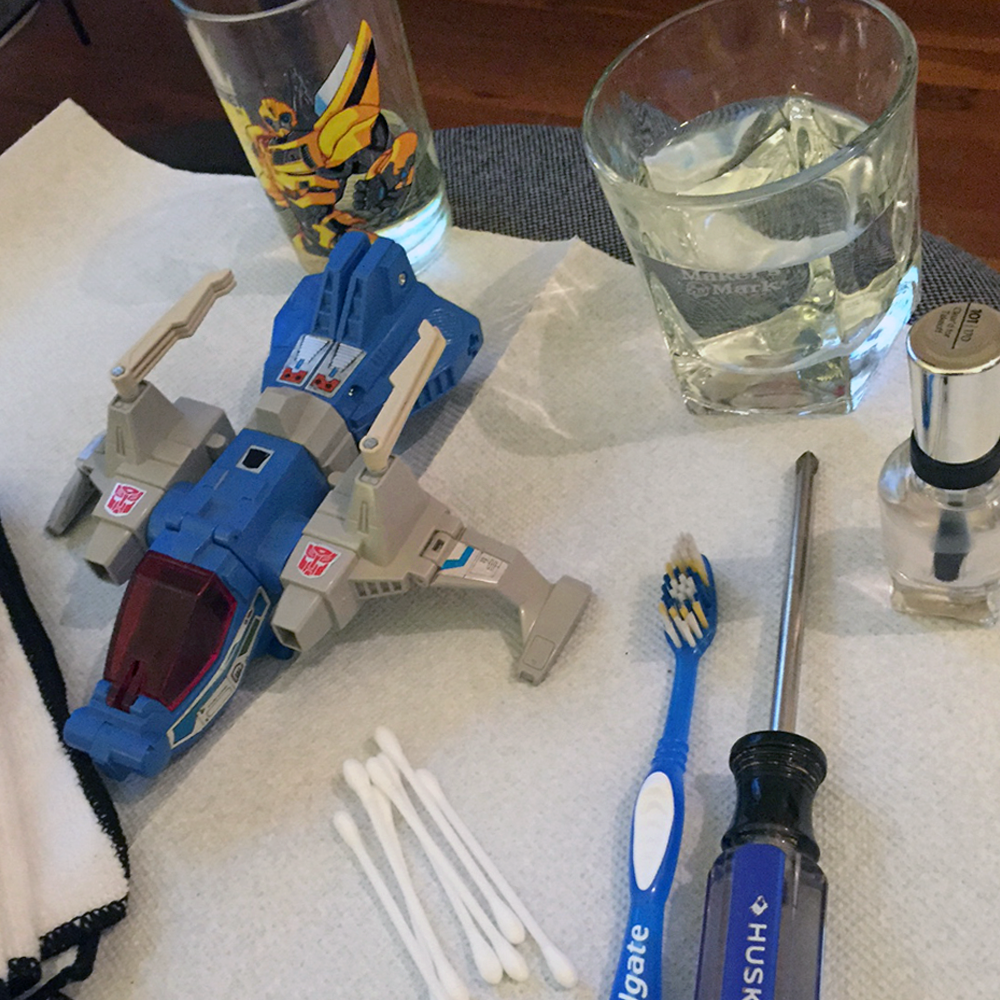
Here is a list of what you will need to rejuvenate a Transformer:
A handful of Q-Tips.
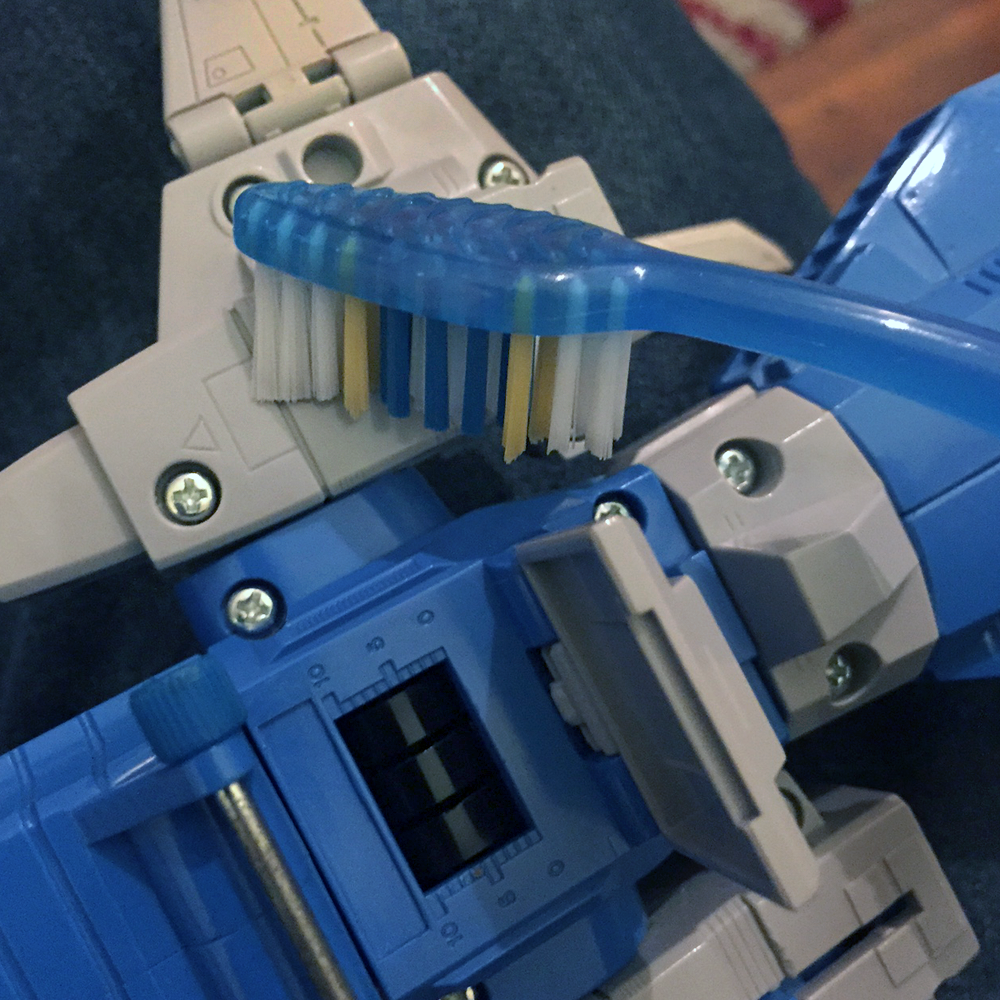
A soft bristle tooth brush.
A cup of warm water.
A cup of vegetable oil.
A lot of paper towels.
A clean shammy or rag (like the kind you wax cars with).
A nice set of tweezers.
You may also want:
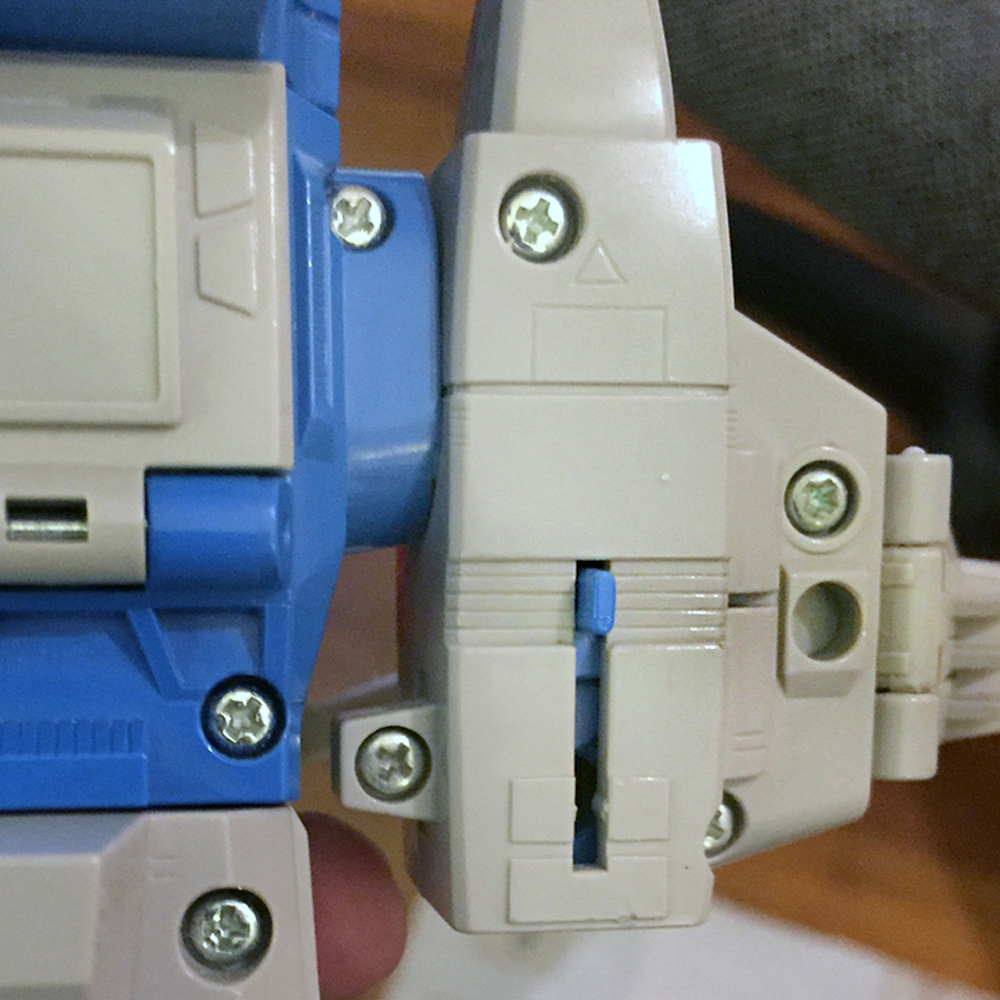
A screwdriver (a small one, not like the one pictured), to tighten loose joints.
A bottle of clear finger nail polish, to tighten loose ball joints.
Goo Gone or decal remover.
Meguiars Plastx Wax
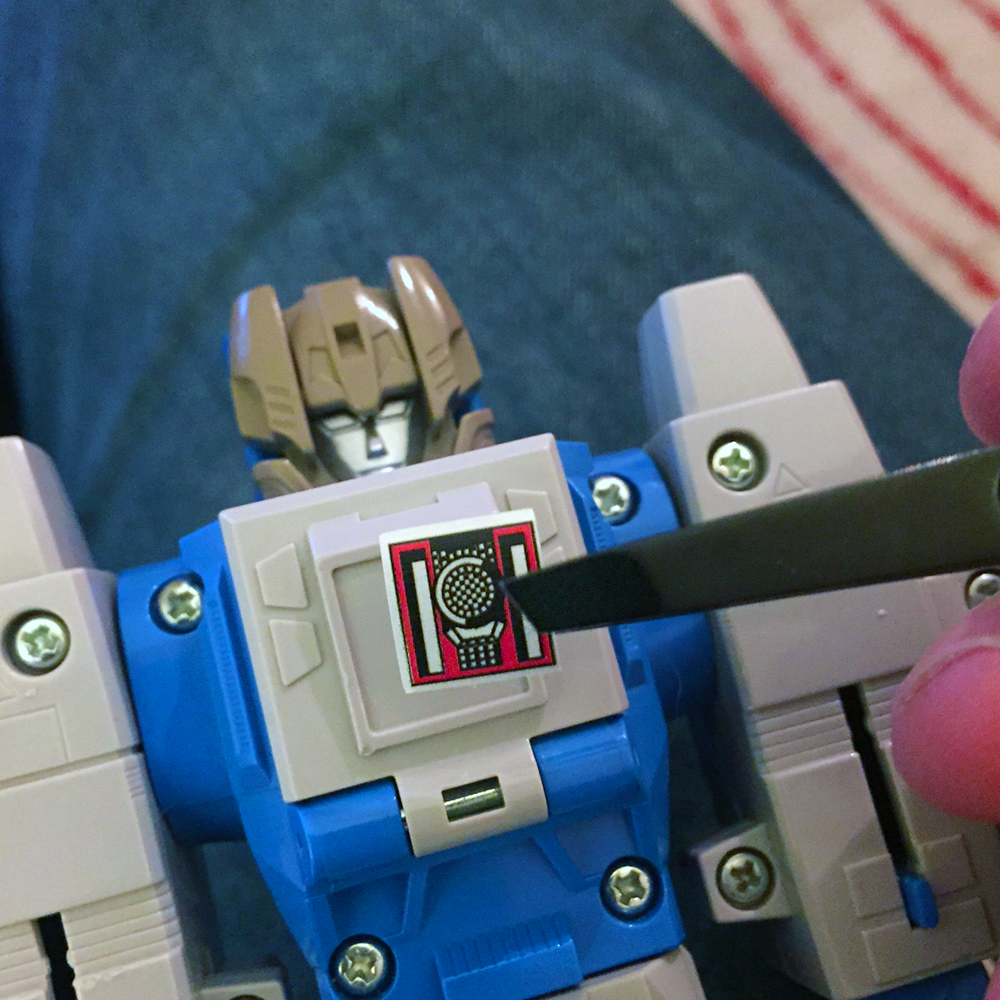
First, cover your lap or table with a paper towel, and dip a Q-Tip in the vegetable oil. Rub the vegetable oil over the surface of any stickers you want to remove. Be very careful not to get any oil on the rub sign, as this can damage it.
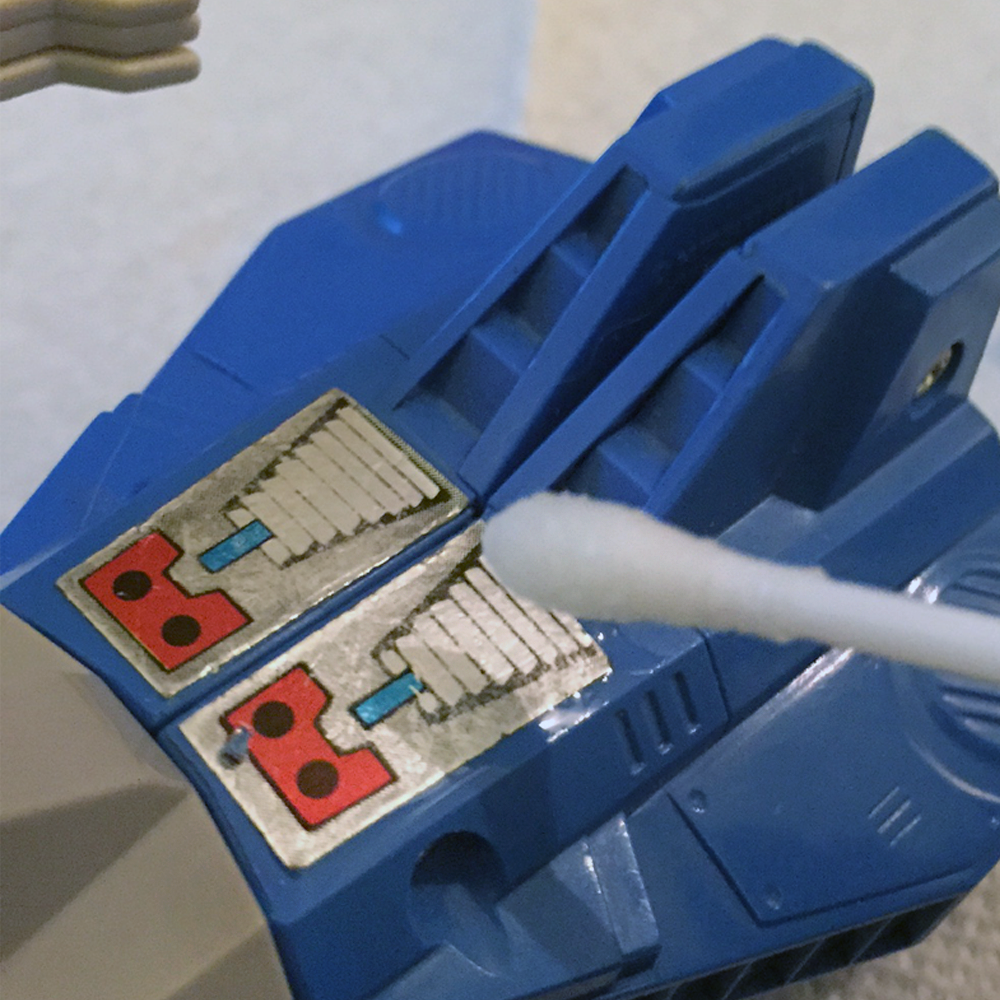
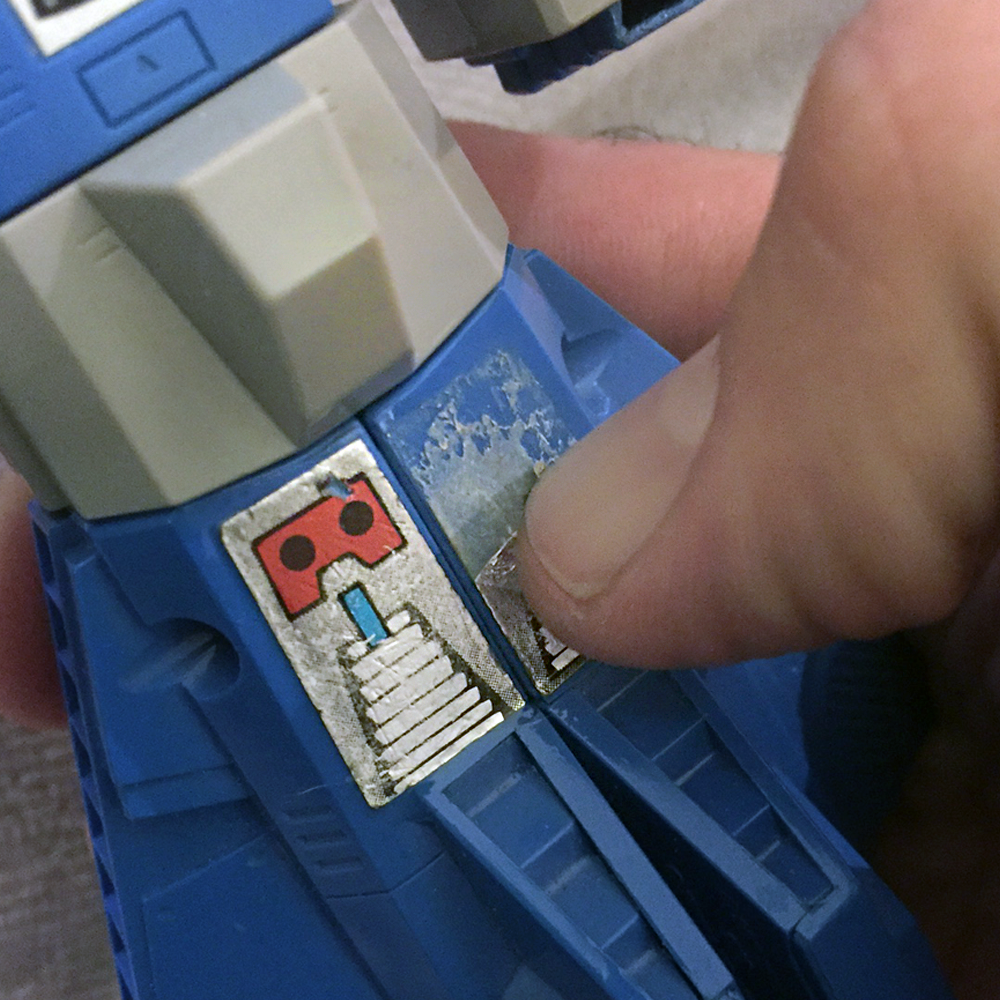
Sit the Transformer on the paper towel and let the vegetable oil soak into the stickers for about 15-20 minutes. Once the stickers are saturated, take your thumb or fingernail and begin scraping off the stickers, starting at the edges. Resist the urge to use any Exact0 knives or foreign objects at this point, your fingernail is perfect to avoid scratching the plastic. This part can be very time-consuming.
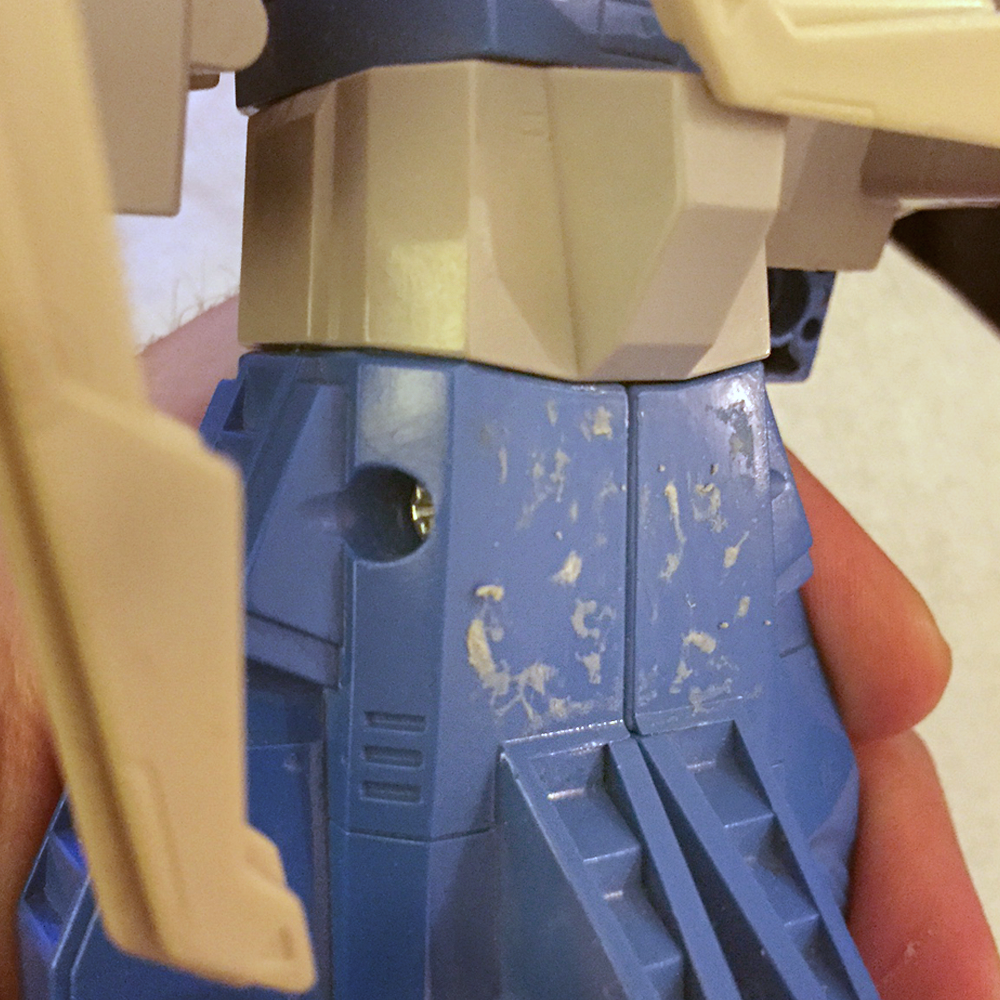
Continue applying the vegetable oil as you remove the sticker, once you remove most of the sticker you will be left with an area looking like this.
Rub the vegetable oil back and forth over the adhesive area with your Q-Tip, then using a paper towel, rub the area in a circular movement and really put some pressure on it. Eventually this will remove all of the adhesive. Once all adhesive remainder is removed, remove all vegetable oil from the surface of the figure using a paper towel.
This brings us to the cleaning portion of the rejuvenation. Note any areas where dirt or debris are located, taking careful time to examine the crevices, this is where you will find the worst of the dirt/dust buildup. Take your soft-bristled toothbrush and lightly dab it in the warm water. Blot the toothbrush several times on a paper towel, you will want to use water extremely sparingly, as any residual left between joints could lead to rust. Again, you may want to avoid the rub sign, which does not react well to liquids. If you do manage to mess up you’re rub sign, replacements are available at Reprolabels.com (which I will speak on later).
Rub the toothbrush bristles deep into the tiny areas that can collect dust, and go over every inch of the figure. When you’re done, rub the entirety of the figure with the soft waxing cloth until it is completely dry. You may want to also use a Q-Tip to dry any of the screw holes or weapon slots.
Now you will be left with a label-free Transformer, which is actually what some collectors like, but for the purposes of this article, we will be replacing the labels. Which leads us to an entirely different discussion.
Reprolabels or Vintage Labels?
So, there are two decent ways to get new labels for your Transformer: 1. Buy an original label sheet that came with the figure off of eBay (this will generally run you above twenty dollars on eBay). Or, 2. Purchase replacement labels off of Reprolabels.com (which will run you about $4). If you do go with Reprolabels, make sure to mention it in the ad if you ever sell that figure, it would be dishonest to represent reproductions as vintage originals, and you could get caught.
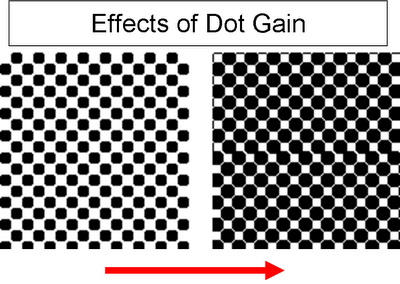
A lot of people ask if using reprolabels hurts a Transformers value, and that depends completely on the buyer, some will want full vintage and some will want what looks best, or saves some money. People also ask if Reprolabels are identical to the vintage originals, and my answer would have to be “no”. As a Graphic Designer for over 10 years, I will tell you that, while the details, cut, and color have been reproduced nearly perfectly, I do spot evidence of something called “dot gain.” Dot gain is what happens when something that was printed using dots of color is copied, the tiny dots that make up the colors will almost always blur ever so slightly, giving the illusion that the dots are thicker. I would say that a trained eye: printer, designer, or collector, should be able to spot them on close inspection.
Now, that being said, I choose Reprolabels every single time. The materials they use are (in my opinion) superior to the material the vintage stickers are made of, they are tough, they place and remove better, they are just high quality all the way around, and I personally think a brand new set of Reprolabels make a figure shine, so there you have it.
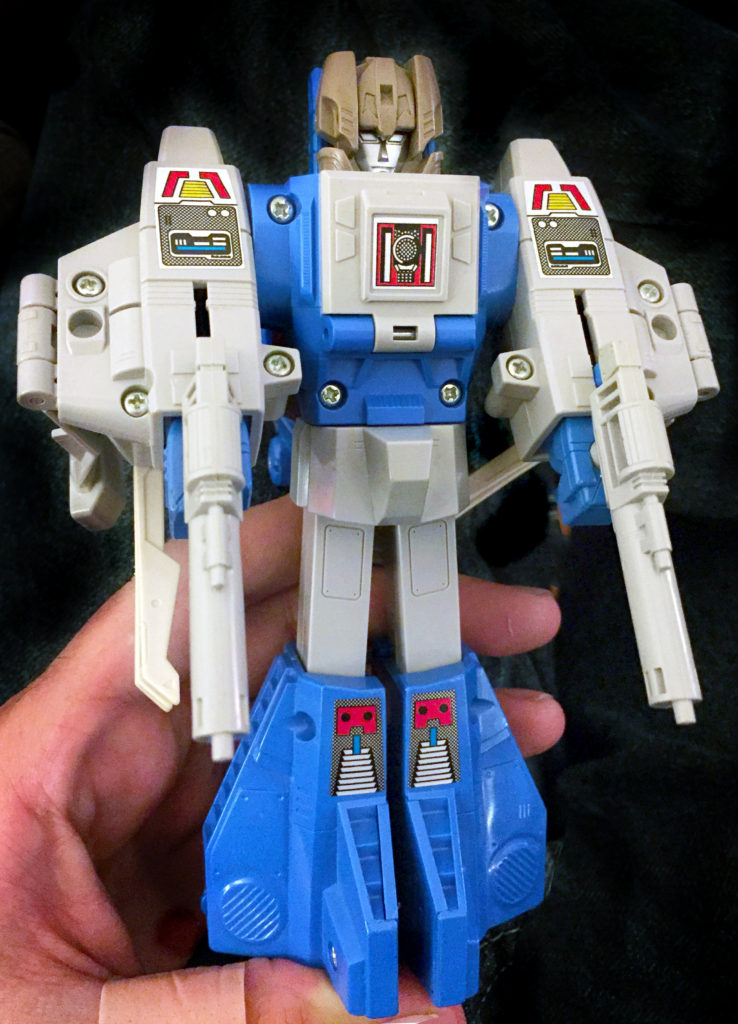
Once you decide, take the label sheet of your choice and sit with the figure under full light, in an area where you can rest it solidly again a surface. Pick the label to apply and lightly bend the sheet at its corner, exposing an edge, using a decent and supremely cleaned pair of tweezers, grip the sticker lightly on an outer edge and prepare to apply.
There’s no one way to apply labels, so I will just say that what works best for me is to steady the figure against something and hover the sticker over its proper spot until it’s perfectly in line, then I tap the middle of the sticker with my opposite hand, then I lightly smooth over it once with my finger, don’t apply pressure, sometime labels cover screw holes and can sink into them.
Alternate Methods
Before tackling any rejuvenation I read everything I could from online Transformer and toy collector forums. There was a lot of discussion about using Goo-Gone, so I tried sticker removal on various Transformers using: Vegetable oil, Goo-Gone, and Vinyl sticker remover for cars. There really wasn’t a world of difference in the effectiveness of any of them, except that the vinyl remover worked better than the Goo-Gone. For most of the 10 rejuvenations I took on, I used vegetable oil on the majority as it does not contain rubbing compound which I feared might have a negative effect on the plastic (though I didn’t actually encounter any while I used it). I also used a combination: removing the labels with vegetable oil and then doing the hard rubbing with the vinyl remover, which also had positive effects.
I also experimented with Meguiars Plastx Wax, to see if it had a positive effect. The ultimate results were not that impressive, it does the leave the plastic a minute amount shinier, but doesn’t seem to remove or buff out any scratches. Add on top of that that the wax gets buried deep in the crevices and takes time to remove, and I am going to lean towards skipping it.
If you have a piece that has a lot of white that has yellowed, there is a great method involving peroxide that is described in detail here.
Conclusion
The ultimate takeaway from this is that you can rejuvenate pieces that have been in your collection longer, or save some money on a piece you’ve always wanted by cleaning it yourself. Either way, keeping your collection clean and presentable is a must for insuring their longevity.





I’ve noticed that a 25% to 50% rubbing alcohol solution works really well to remove residue from stickers. I used that for my figures and also for removing stickers from laptops/PCs